Saturday, 21 July 2012

david lebovitz's cheesecake brownies

In amongst moving out, getting married, changing jobs and getting our apartment decked out (for a month, we sat on the carpet with our backs leaning against the wall whilst we waited for our couch to arrive), I barely had time to give this blog much thought. Thankfully all the craziness has finally settled down and now I can comfortably sit on our sofa and have a little bit of me time.

I made these cheesecake brownies a few weeks ago when I was invited over for dinner at A's place. The recipe comes out of David Lebovitz's 'Ready for Dessert' which is my go to book for fail safe recipes when you are bringing a dish. I've tried other recipes for cheesecake brownies but always found that the cream cheese would sink to the bottom but that's one thing you don't have to worry about this one.

Preheat oven to 180 degrees. Line a rectangular tin. In a medium saucepan, melt 85g unsalted butter, add in 115g chopped dark chocolate and stir over low heat until the chocolate is melted and smooth. Remove from the heat and stir in 130g caster sugar followed by 2 large eggs. Mix in 70g plain flour, 8g cocoa powder, a pinch of salt, 1 tsp vanilla extract and then 80g dark chocolate. Scrape the batter into the prepared pan and spread evenly. To make the cheesecake topping, in a medium bowl, beat together 225g cream cheese, 1 large egg yolk, 75g caster sugar and 1/8 tsp vanilla extract until smooth. Distribute the cream cheese mixture in 8 dollops across the top of the brownie batter and then, with a butter knife, swirl the cream cheese mixture very slightly into the batter. Bake for approx. 35 minutes.

Let the brownies to cool completely in the pan before lifting out.

All packed and ready to take to dinner.

These went down quite the treat! By far, the best cheesecake brownie recipe I've come across and makes me even more in love with David Lebovitz (yes, I'm slowly getting closer to owning all his recipe books!)

Tuesday, 24 April 2012

kit kat chunky caramel cheesecake

As it often happens, whilst I'm waiting for one thing to bake, I then get the idea to bake something else. And well, most of the time my kitchen is accommodating and has everything I need so it's a bit of a no-brainer, I end up staying in the kitchen cooking up a storm. My last post mentioned a generous gift of Kit Kat bars that I received and why not use a few more Kit Kats whilst I'm at it?! This recipe will require three Kit Kat Chunky caramel bars for those interested (though nothing saying that you can't use more if you want) but I do think three is enough to make a mighty good cheesecake.

I do feel rather guilty whenever I eat a bar of these; so chopping them up and eating it sparingly in a cheesecake makes me feel slightly less guilty. There's no logic there but you get the gist of how my brain works.

I've tried making cheesecake base from scratch but no matter how many times I've tried, I find plain graham crackers/digestive biscuits always work a treat. It's stress relieving too - place 175g digestive biscuits in a plastic bag and crush them thoroughly with a rolling pin (be careful though - the bag can break!). Preheat the oven to 180 degrees.

Pour the crushed biscuits into a lined springform baking tin. Pour over 75g melted unsalted butter, mix and pat down firmly into the base of the tin. Chill in the fridge whilst you make the cheesecake filling.

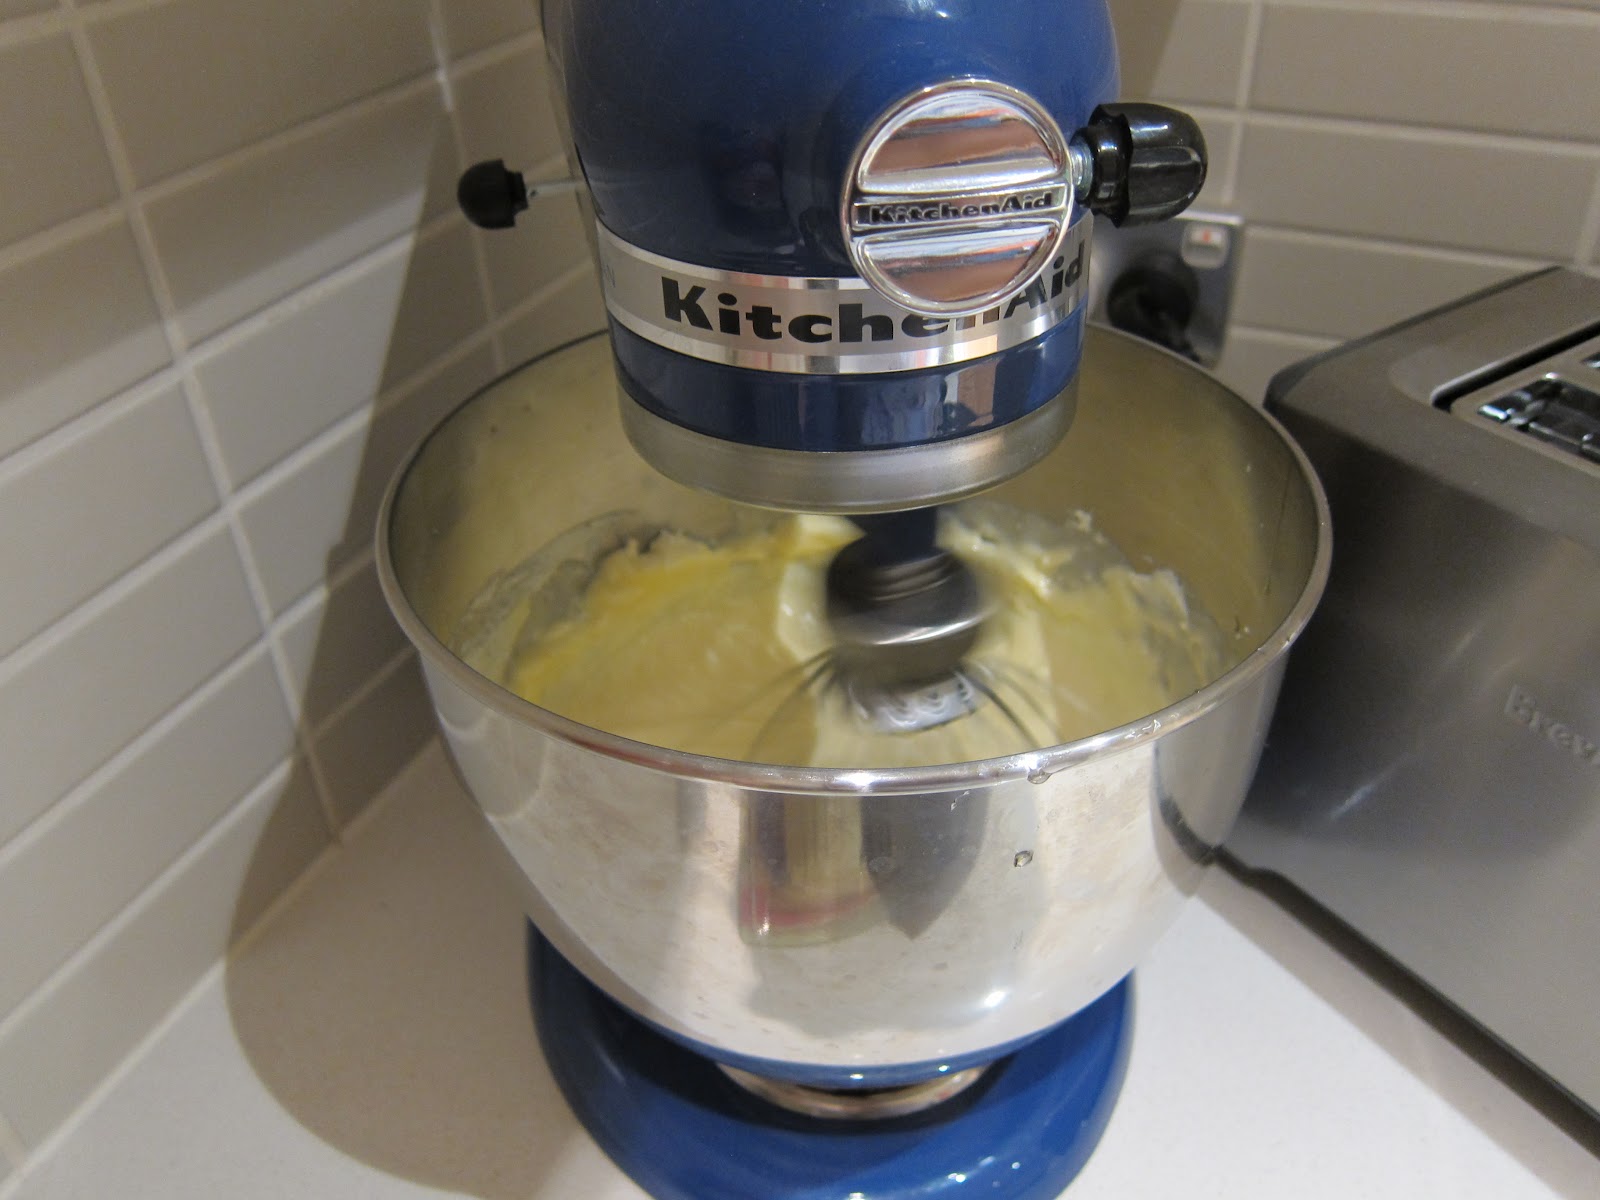
A stand mixer comes in really handy at this point (this is my baby the boy gifted me for Christmas and I love it!) Beat together 450g softened cream cheese, 150g caster sugar, 1 tsp vanilla extract and 4 eggs until the mixture is smooth.

 Time to chop up those Chunky bars (and maybe eat a little bit whilst you're at it).

I lined the biscuit base with about 2/3 of the chopped Kit Kats, poured over the cream cheese mixture and then sprinkled the top with the remaining 1/3 chopped Kit Kats.

 Bake for 50 minutes until the top is golden and there is only a slight wobble left to the cheesecake. Allow to cool in the tin for 10 minutes before running a knife around the edge and loosening it from the tin.

 And what are you waiting for? Dig in!

I think I might be slightly sugar overloaded on Kit Kats but I'll just say that this cheesecake is divine - the texture of the cheesecake light and the Kit Kats give the cheesecake great flavour and texture. I wish someone had told me earlier that I could bake with Kit Kats! Ah well, not too late now, still a few more Kit Kat bars on the kitchen bench for me to experiment with.

Monday, 23 April 2012

kit kat anzac biscuits

With Anzac Day coming up, it only seems fitting to post up my favourite Anzac biscuit recipe; this is a recipe which I've used time and time again and has always worked a treat. I did jazz it up a little this time though as being the lucky person that I am, I was recently gifted with a fair few Kit Kat bars. Not wanting to feel like a glutton chomping away on them, it only made sense to try and bake with them. Anzac biscuits were on the agenda so made perfect sense to throw in some Kit Kats to see how they would go. I tell you now dear reader, they are the best!

You'll need two Kit Kat Bars for this recipe.

For your Anzac Biscuits: Preheat oven to 160 degrees. Place 1 cup rolled oats, 1 cup plain flour, 1/2 cup caster sugar and 3/4 cup dessicated coconut in a bowl. Place 2 tbsp golden syrup and 125g unsalted butter in a saucepan over low heat and allow to melt. Mix 1/2 tsp bicarb soda with 1 tbsp hot water and add to the butter mixture. Pour the butter mixture into the dry ingredients and mix well.

Chop up the Kit Kats into 1cm pieces. Add to your Anzac biscuit mix.

Wearing gloves, roll out balls of the mixture and place onto lined baking trays. Flatten the balls of mix slightly, remembering to allow room on the trays for the biscuits to spread. 

Bake for 10 minutes or until golden.

 Take note that the biscuits will be very soft when they come out of the oven but will harden as they cool down. Leave on the trays until they are ready to move onto a wire rack. Makes about 20-25.

This Anzac biscuit recipe is my favourite because it has a crunchy outer and slightly chewy centre which is how I think all Anzac biscuits should taste (the ones you get at the supermarkets are usually crunchy all the way through which I never think is quite right). And well to top that off, add the sweet chocolatey-goodness of Kit Kats and the extra crunch from the wafer inner and you have the perfectly crunchy yet chewy Anzac biscuit for Anzac Day. Have a good Anzac Day everyone! Enjoy the break (and well, why not have some Kit Kats in your Anzac biscuits!)

Monday, 5 March 2012

tom n toms coffee @ top ryde shopping centre

There's two places I like to hang out at Top Ryde Shopping centre: one being Oliver Brown (open till late into the night and always great for a Chocolate fix) and the other is Tom n Toms Coffee (or what most people know as Starbuck's knock off - actually I thought Tom n Toms was Starbucks when I first came across their shop in the city) And well there's many reasons why I keep popping back into Tom n Toms. First and foremost would be their Green Tea Tomoccinos, second would be their thick toasts (which I actually have yet to try but always get my attention) and third would have to be a spot of tea and scones which I had this one Saturday afternoon.

Scones with jam and cream and a spot of tea. A range of teas are on offer - my default being English breakfast with the boy opting for a Chrysantheum Tea.

This is how big the scones are.

Take your pick of either Plain or Raisin Scones. My favourite of the two were the raisin ones. There's something about plump raisins inside a scone which make raisins extra tasty.

I've sat here several times now and chatted my afternoons away and the staff there seem to let you sit for as long as you like without disrupting you. A few others bring their laptops but most people who come here seem to come here seem to come here for the same reasons that I do - green tea tomoccinos, thick toast, a spot of tea and scones, all shared with friends and loved ones. And yes, I'm adamant on trying their thick toast - but it is awfully big which is why I never get round to trying it!

Monday, 6 February 2012

roasted lamb with potatoes, anchovies & garlic

Sunday nights have become roast nights in my household; it's probably the one day in the week when everyone's home and we all sit down at the dinner table to eat (and yes we all sit down till we finish all our food unlike weeknights when someone is finishing late or I'm off to the gym and standing over the kitchen bench scoffing down my food - bad I know!). And well, the cooking of the roast has been a bit of a collective effort, we all take turns and it works out to be a rather good arrangement - everyone gets a go and the roast always tastes spectacular in very different ways.

It was my turn this particular week and I used the 'Slow-roasted lamb shoulder with potatoes, anchovies and garlic' recipe found in 'The Thrifty Kitchen'. It's very simple! Preheat oven to 180 degrees. Rub 1.5kg lamb with freshly ground salt and pepper. Heat a heavy based roasting tin over medium heat, then add the lamb and brown all over. Take the lamb off the heat and set aside on a plate. Spread 1kg thinly sliced desiree potatoes and 2 thinly sliced red onions in alternate layers in the roasting tin, and nestle 3 heads of garlic (halved) in amongst the slices. Top with 4 anchovy fillets, 1 tbsp olive oil and 30g butter and season well with salt and pepper. Lay the browned lamb on top, sprinkle with 1 sprig rosemary and 1 1/2 tbsp white wine vinegar, and pour over 2 cups water.

Cover the tin with foil and bake for 1 1/2 hours. Reduce the oven temperature to 160 degrees and remove the foil, then continue to cook for another 30 minutes. 

Allow to rest for 5 minutes and then carve. Serve the lamb with the vegetables and a head of roasted garlic per person.

Next time I'd probably reduce the cooking time about 15 minutes to have the lamb slightly rarer. Surprisingly the original recipe recommends a cooking time of 3 hours which both mum and I thought was a little excessive so took the lamb out as soon as it looked done (and we were right!) This one leg of lamb more than comfortably serves four and we even had some leftovers to make a sandwich the next day (have I ever mentioned how tasty roast sandwiches are? they are the best!)